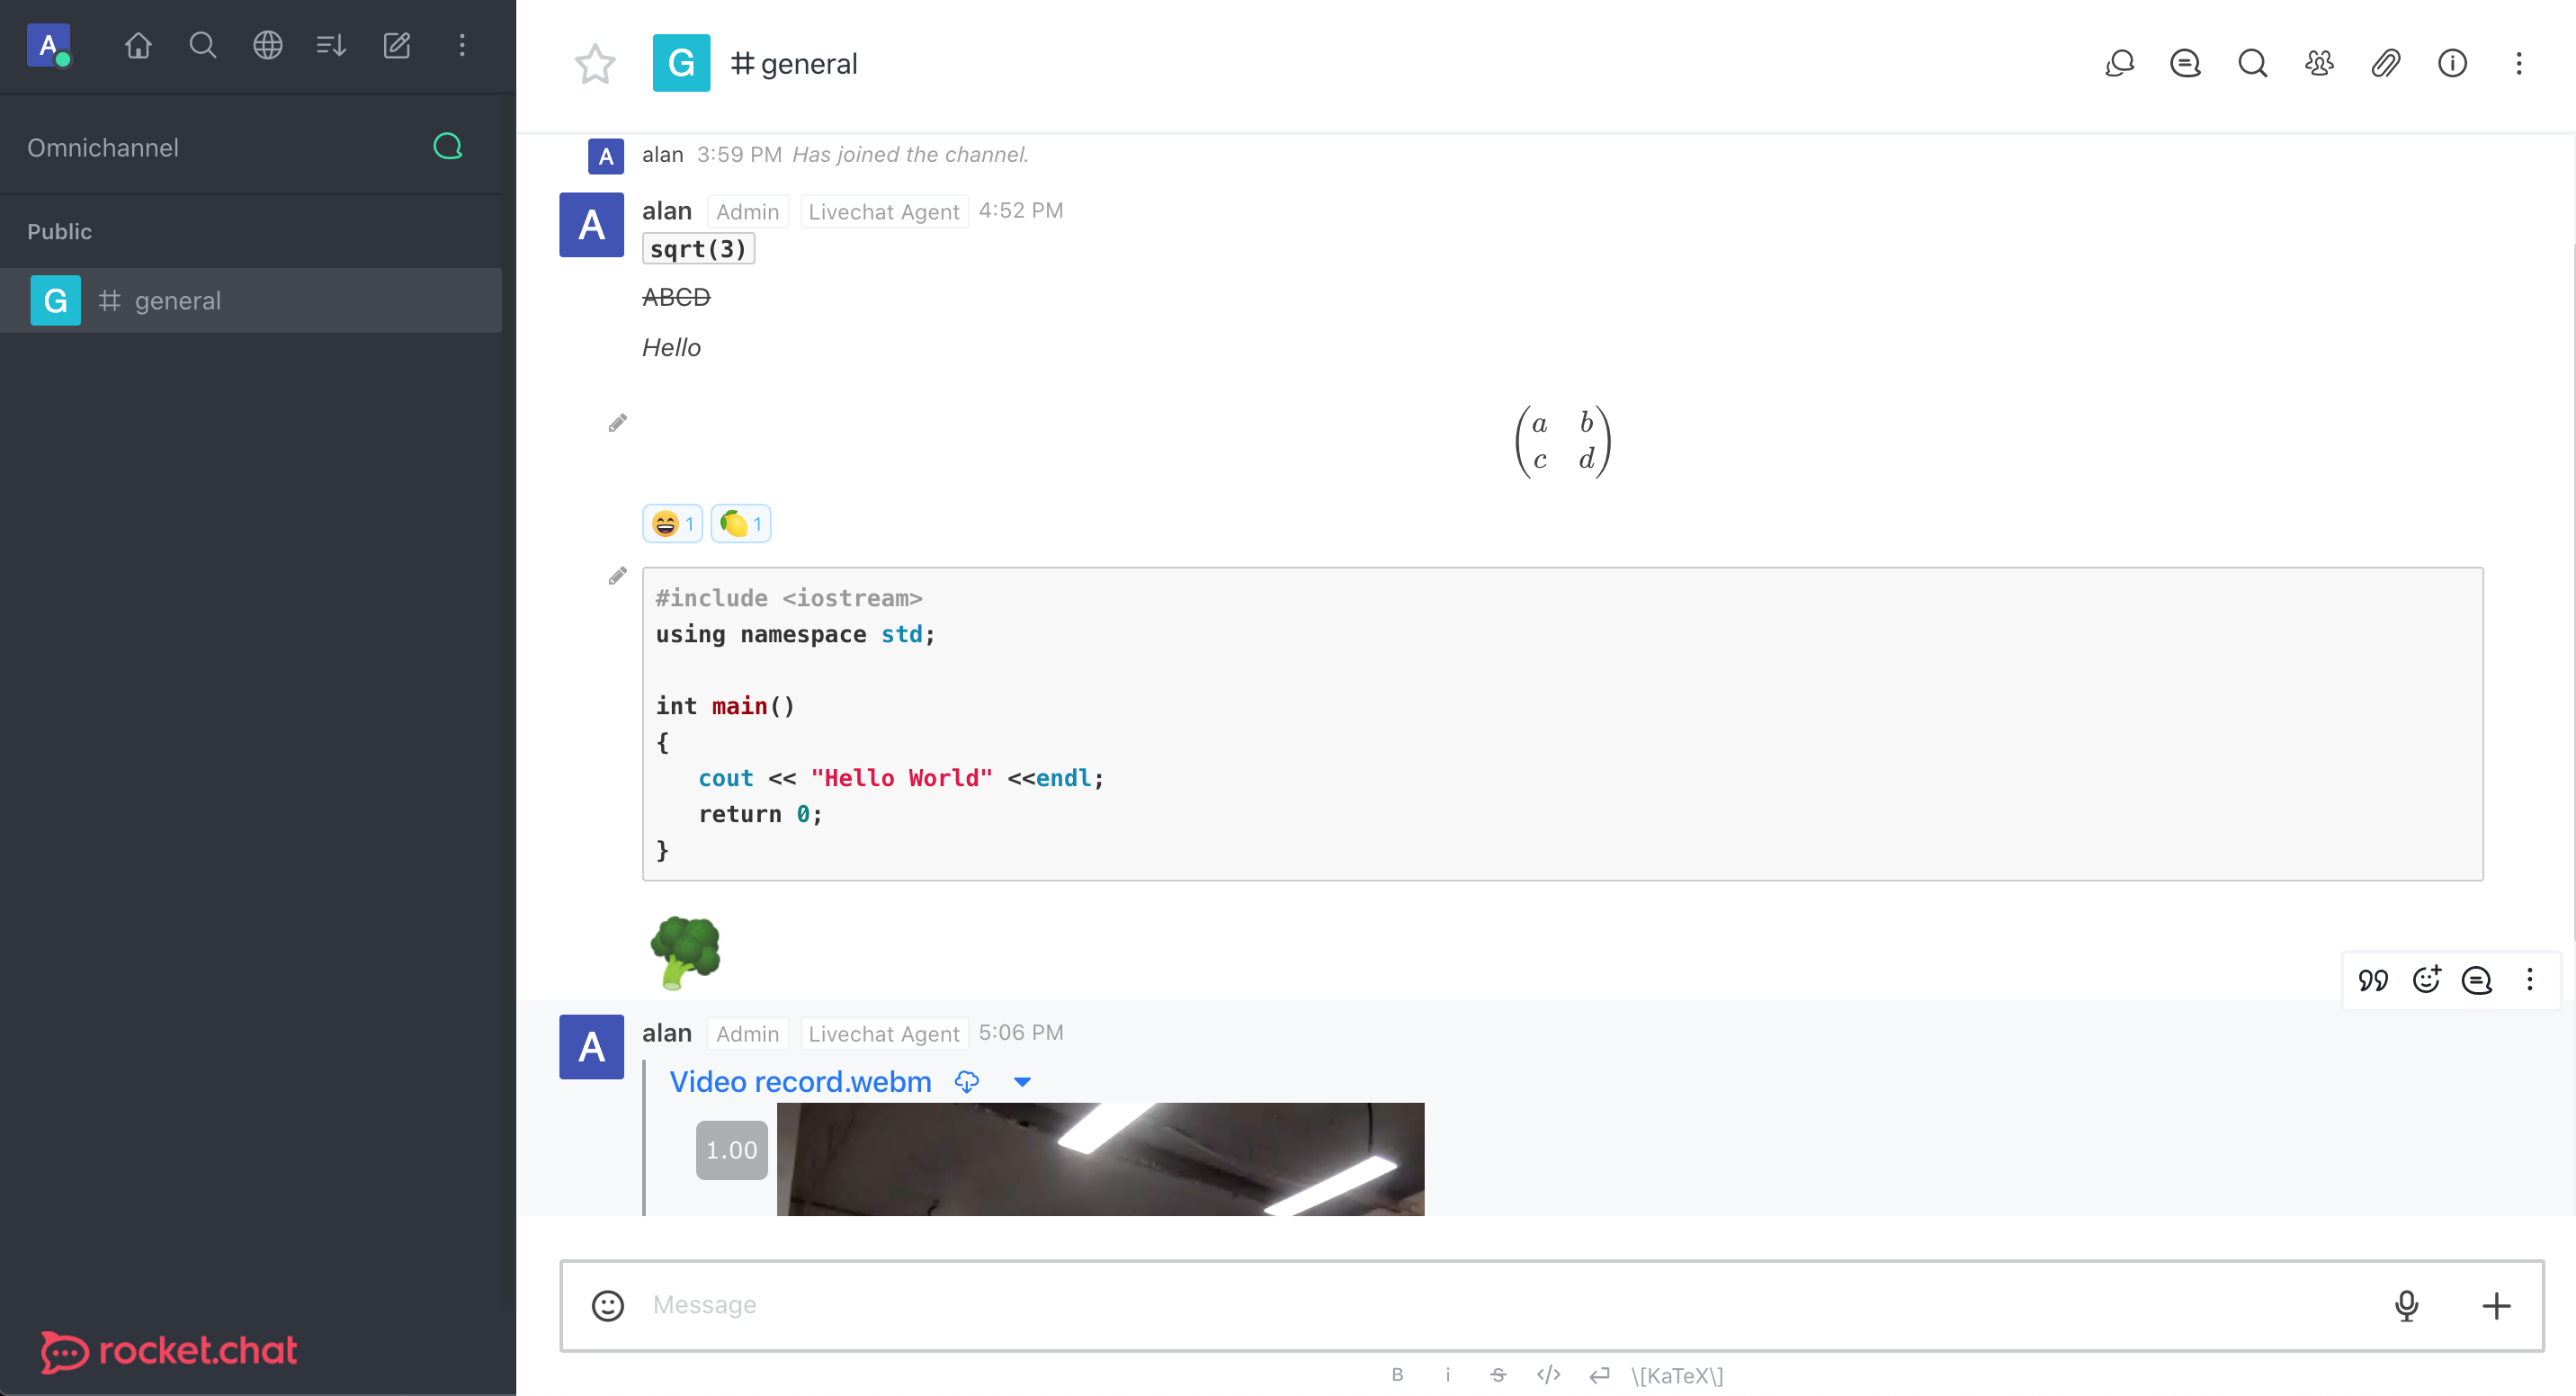
最近几天在看开源 Live Chat的一些方案,相对比较优秀的有Chatwoot,但开源代码中原始嵌入的 JS 似乎没有移动端自适应(似为开发版问题,master 分支可自适应显示)。同时看了一下本文中这个方案,它其实它并不是一个Live Chat方案,虽然带有相应的功能,主要功能是建立不同 Channel 进行群聊,尝试了一下,整体体验和功能还是非常全面的,手机端自适应,同时可以发送视频、音频、代码、数学公式,同时可以 pin、关注相应的发帖,当然还具有举报和删除的功能。
Rocket.Chat的缺点在于其因功能强大而在使用上会比较复杂,同时因其迭代速度较快也会存在文档更新不及时会自有的 bug 而需要耗费较多的时间进行排错处理。在B站上搜索并没有几个视频,暂也未发现国内在这块的活跃社区,所以遇到问题可能还是需要借助于国外的平台。
官方文档:
手动安装:https://docs.rocket.chat/installation/manual-installation
iframe集成:https://docs.rocket.chat/guides/developer/iframe-integration
下文使用的系统为 Ubuntu 18
在线查看组件:https://rocketchat.github.io/Rocket.Chat.Livechat/
安装依赖
|
1 2 3 4 5 6 7 8 9 10 11 12 |
sudo apt-get -y update sudo apt-key adv --keyserver hkp://keyserver.ubuntu.com:80 --recv 9DA31620334BD75D9DCB49F368818C72E52529D4 echo "deb [ arch=amd64 ] https://repo.mongodb.org/apt/ubuntu bionic/mongodb-org/4.0 multiverse" | sudo tee /etc/apt/sources.list.d/mongodb-org-4.0.list # 安装 NodeJS sudo apt-get -y update && sudo apt-get install -y curl && curl -sL https://deb.nodesource.com/setup_12.x | sudo bash - # 安装 MongoDB sudo apt-get install -y build-essential mongodb-org nodejs graphicsmagick # 安装Rocket.Chat 所需n版本 sudo npm install -g inherits n && sudo n 12.18.4 # 注意官方文档中的12.14.0会导致报错 |
有关 MongoDB 的更多配置可参见MongoDB, Solr & RabbitMQ安装及常见问题
安装 Rocket.Chat
|
1 2 3 4 |
curl -L https://releases.rocket.chat/latest/download -o /tmp/rocket.chat.tgz tar -xzf /tmp/rocket.chat.tgz -C /tmp cd /tmp/bundle/programs/server && npm install sudo mv /tmp/bundle /opt/Rocket.Chat |
配置 Rocket.Chat 服务
配置用户
|
1 2 |
sudo useradd -M rocketchat && sudo usermod -L rocketchat # 其中-M 代表不创建家目录,-L 表示锁定密码,不可登录,实质是在shadow 文件的密码字段前添加一个! sudo chown -R rocketchat:rocketchat /opt/Rocket.Chat |
添加服务文件
|
1 2 3 4 5 6 7 8 9 10 11 12 13 14 |
cat << EOF |sudo tee -a /lib/systemd/system/rocketchat.service [Unit] Description=The Rocket.Chat server After=network.target remote-fs.target nss-lookup.target nginx.target mongod.target [Service] ExecStart=/usr/local/bin/node /opt/Rocket.Chat/main.js StandardOutput=syslog StandardError=syslog SyslogIdentifier=rocketchat User=rocketchat Environment=MONGO_URL=mongodb://localhost:27017/rocketchat?replicaSet=rs01 MONGO_OPLOG_URL=mongodb://localhost:27017/local?replicaSet=rs01 ROOT_URL=http://localhost:3000/ PORT=3000 [Install] WantedBy=multi-user.target EOF |
打开/lib/systemd/system/rocketchat.service进行相关配置(线上 Mongo 请设置密码)
|
1 2 3 4 |
MONGO_URL=mongodb://localhost:27017/rocketchat?authSource=admin&replicaSet=rs01&w=majority MONGO_OPLOG_URL=mongodb://localhost:27017/local?authSource=admin&replicaSet=rs01 ROOT_URL=http://your-host-name.com-as-accessed-from-internet:3000 #这个域名请修改为线上使用的域名,否则在默认 api 调用时域名会出错 PORT=3000 |
线上为 Mongo 设置密码后需修改对应部分配置为mongodb://user:passwd@127.0.0.1:27017/rocketchat?replicaSet=rs01 这一格式,设置示例如下(角色可设置为readWrite或 dbOwner)
|
1 2 3 4 5 |
use admin db.createUser({user: "rocketchat", pwd: "xxxx", roles: [{ role: "dbOwner", db: "local" }]}) db.grantRolesToUser('rocketchat', [{role : 'dbOwner', db : 'rocketchat' }, 'dbOwner'] ) # 回收权限 db.revokeRolesFromUser("rocketchat", [{ role: "dbOwner", db: "admin" }] ) |
其中对 local 库设置用户时需切换至 admin,否则会报错
|
1 |
Error: couldn't add user: Cannot create users in the local database |
Mongo 配置文件修改
|
1 2 3 4 5 6 |
sudo sed -i "s/^# engine:/ engine: mmapv1/" /etc/mongod.conf sudo sed -i "s/^#replication:/replication:\n replSetName: rs01/" /etc/mongod.conf # 重启服务 sudo systemctl enable mongod && sudo systemctl start mongod mongo --eval "printjson(rs.initiate())" |
启动Rocket.Chat 服务
|
1 |
sudo systemctl enable rocketchat && sudo systemctl start rocketchat |
安装 Nginx
|
1 2 3 4 5 6 7 8 9 10 11 12 13 14 15 16 17 18 19 20 21 22 23 24 25 26 27 28 29 30 31 32 33 |
apt-get install nginx # 参考配置文件 # Upstreams upstream backend { server 127.0.0.1:3000; } # HTTPS Server server { listen 80; server_name your_hostname.com; # You can increase the limit if your need to. client_max_body_size 200M; error_log /var/log/nginx/rocketchat.access.log; location / { proxy_pass http://backend; proxy_http_version 1.1; proxy_set_header Upgrade $http_upgrade; proxy_set_header Connection "upgrade"; proxy_set_header Host $http_host; proxy_set_header X-Real-IP $remote_addr; proxy_set_header X-Forwarded-For $proxy_add_x_forwarded_for; proxy_set_header X-Forwarded-Proto https; proxy_set_header X-Nginx-Proxy true; proxy_redirect off; } } |
Lets Encrypt
|
1 2 3 4 5 |
sudo snap install core; sudo snap refresh core sudo snap install --classic certbot sudo ln -s /snap/bin/certbot /usr/bin/certbot sudo certbot --nginx # sudo certbot --nginx -d yourdomain.com |
其它方式
使用 snap 快速安装
|
1 2 3 4 5 6 |
apt install snap snapd snap install rocketchat-server # 更新 snap refresh rocketchat-server # 查看已安装软件 snap list |
Live Chat前端安装通过 JS 实现自定义,比如自定义 Agent:
|
1 2 3 4 5 6 |
RocketChat(function() { this.setAgent({ _id: 'h24yNtyoCmvp96wgt', username: 'rocket.chat', }); }); |
- Administration>Settings>Assets 可自定义配置 Logo 等图片
- Administration>Settings>Layout 可自定义 Home 等页面
常见问题
1、Refused to display ‘https://chat.xxx.xxx/livechat’ in a frame because it set ‘X-Frame-Options’ to ‘sameorigin’.
2、默认 Live Chat 等代码的域名也需在 General > Site URL中进行设置,否则为 http://localhost:3000
实测示例中虽然域名后带有/但如果这么填写的话会导致前台多一个斜杠图片显示出问题并伴有控制台Websocket的报错(配置后最后重启服务)
|
1 |
sudo n 12.18.4 |


