Elastic Stack主要组成:
Elastic Search, Kibana, Beats, Logstash
Java安装请参见通过CentOS 7从零开始学习Linux及常见问题的Java环境搭建部分。
Elastic Search
|
1 2 3 4 5 6 7 8 9 10 11 12 13 14 15 16 17 18 19 20 21 22 23 24 25 26 |
# 安装 # 下载地址 https://artifacts.elastic.co/downloads/elasticsearch/elasticsearch-6.2.3.tar.gz tar -zxvf elasticsearch-6.2.3.tar.gz cd elasticsearch-6.2.3 # 启动服务 bin/elasticsearch # 本地访问地址 http://127.0.0.1:9200 # 快速启动Elasticsearch集群 bin/elasticsearch bin/elasticsearch -E http.port=8200 -E path.data=node2 bin/elasticsearch -E http.port=7200 -E path.data=node3 ... # 查看集群 http://127.0.0.1:8200/_cat/nodes # 详情 http://127.0.0.1:8200/_cat/nodes?v # 集群信息 http://127.0.0.1:9200/_cluster/stats # 开启端口(CentOS 7) sudo firewall-cmd --add-port 9200/tcp --permanent sudo systemctl restart firewalld |
Kibana
|
1 2 3 4 5 6 7 8 9 10 11 12 13 14 15 16 17 18 19 20 21 22 23 24 25 26 27 28 29 30 31 32 33 34 35 36 37 38 39 40 41 42 43 |
# 下载并解压安装 # 配置内容:根据实际情况修改以下文件elasticsearch.url字段内容 config/kibana.yml # 默认访问地址 http://localhost:5601 # 其它主要配置项 server.host/server.port # 访问Kibana的地址和端口 # 增删改查 # 创建数据 POST /accounts/person/1 { "name": "John", "lastname": "Doe", "job_description": "Systems Administrator and Linux Specialit" } # 获取数据 GET accounts/person/1 # 更新数据 POST accounts/person/1/_update { "doc":{ "job_description": "Systems Administrator and Linux Specialist" } } # 删除数据 DELETE accounts/person/1 # 查询 GET accounts/person/_search?q=John查询 # <a href="https://www.elastic.co/guide/en/elasticsearch/reference/current/query-dsl.html" target="_blank" rel="noopener noreferrer">Query DSL</a> GET accounts/person/_search { "query": { "match": { "name": "John" } } } |
Filebeat
|
1 2 3 4 5 6 7 8 9 10 11 12 |
# 下载地址 https://www.elastic.co/downloads/beats/filebeat sudo ./filebeat -e -c filebeat.yml # 本地文件测试 # nginx.yml配置内容 filebeat.prospectors: - input_type: stdin output.console: pretty: true # 示例 tail /path/to/nginx_logs | ./filebeat -e -c nginx.yml |
Packetbeat
|
1 2 3 4 5 6 7 8 9 10 11 12 13 14 15 16 17 |
#下载地址: https://www.elastic.co/downloads/beats/packetbeat # 进入Packetbeat根目录,使用本地Elasticsearch测试,新建es.yml文件 packetbeat.interfaces.device: lo0 packetbeat.protocols.http: ports: [9200] send_request: true include_body_for: ["application/json", "x-www-form-urlencoded"] output.console: pretty: true # 执行命令 sudo ./packetbeat -e -c es.yml -strict.perms=false # 此时访问http://127.0.0.1:9200/即会进行抓包 |
Logstash
|
1 2 3 4 5 6 7 8 9 10 11 12 13 14 15 16 17 18 19 20 21 22 23 24 25 26 27 28 29 30 31 32 33 34 35 36 37 38 39 |
# 下载地址 https://www.elastic.co/downloads/logstash # 使用示例 tail /path/to/nginx_logs|bin/logstash -f nginx_logstash.conf # 配置文件示例 input { stdin { } } filter { grok { match => { "message" => '%{IPORHOST:remote_ip} - %{DATA:user_name} \[%{HTTPDATE:time}\] "%{WORD:request_action} %{DATA:request} HTTP/%{NUMBER:http_version}" %{NUMBER:response} %{NUMBER:bytes} "%{DATA:referrer}" "%{DATA:agent}"' } } date { match => [ "time", "dd/MMM/YYYY:HH:mm:ss Z" ] locale => en } geoip { source => "remote_ip" target => "geoip" } useragent { source => "agent" target => "user_agent" } } output { stdout { codec => rubydebug } } |
实战示例
|
1 2 3 4 5 6 7 8 9 10 11 12 13 14 15 16 17 18 19 20 21 22 23 24 25 26 27 28 29 30 31 32 33 34 35 36 37 38 39 40 41 42 43 44 45 46 47 48 49 50 51 52 53 54 55 56 57 58 59 60 61 62 63 64 65 |
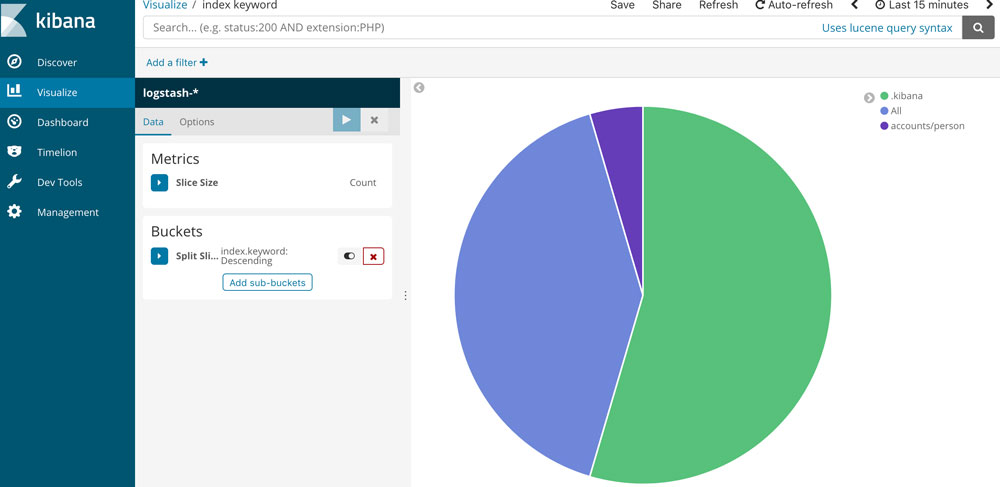
# 首先分别在Elasticsearch和Kibana根目录中启动默认服务 bin/elasticsearch bin/kibana # 进入Elasticsearch根目录创建监控集群 bin/elasticsearch -E cluster.name=sniff_search -E http.port=8200 -E path.data=sniff_search # 进入Kibana根目录 bin/kibana -e http://127.0.0.1:8200 -p 8601 # Logstash # 配置示例sniff_search.conf input { beats { port => 5044 } } filter { if "search" in [request]{ grok { match => { "request" => ".*\n\{(?<query_body>.*)"} } grok { match => { "path" => "\/(?<index>.*)\/_search"} } if [index] { } else { mutate { add_field => { "index" => "All" } } } mutate { update => { "query_body" => "{%{query_body}"}} } # mutate { # remove_field => [ "[http][response][body]" ] # } } output { #stdout{codec=>rubydebug} if "search" in [request]{ elasticsearch { hosts => "127.0.0.1:8200" } } } # 启动Logstash bin/logstash -f sniff_search.conf # Packetbeat # 配置文件示例sniff_search.yml packetbeat.interfaces.device: lo0 packetbeat.protocols.http: ports: [9200] send_request: true include_body_for: ["application/json", "x-www-form-urlencoded"] #output.console: # pretty: true output.logstash: hosts: ["127.0.0.1:5044"] # 启动Packetbeat sudo ./packetbeat -e -c sniff_search.yml -strict.perms=false |
max virtual memory areas vm.max_map_count [65530] is too low


