Magento 2出来也挺久时间了,市场上的反应有部分人觉得它很慢,这可能与硬件设备的要求有关,也有部分人觉得不好用。不管怎样,事物总是向前发展的,Magento 2必将逐步取代Magento 1.9.x,这只是时间问题,也有消息称从今年11月起官方将可能不再对1.9.x的版本支持。Alan已经很久没有对Magento进行研究了,今天抽空对一个站点作迁移的尝试,在这里记录下来过程和问题和大家分享。
首先系统将采用CentOS 7,Web服务器一直用的都是Apache,这次换成Nginx,PHP程序自然还有php-fpm:
|
1 2 3 4 5 6 7 8 9 10 11 12 13 14 15 16 17 18 19 20 21 22 23 24 25 26 27 28 29 30 31 32 33 34 35 36 37 38 39 40 41 42 43 44 45 46 47 48 49 50 51 52 53 54 55 56 57 58 59 60 |
#安装 PHP rpm -Uvh https://mirror.webtatic.com/yum/el7/epel-release.rpm sudo rpm -Uvh https://mirror.webtatic.com/yum/el7/webtatic-release.rpm yum -y install php71w php71w-opcache php71w-xml php71w-mcrypt php71w-gd php71w-devel php71w-mysql php71w-intl php71w-mbstring php71w-bcmath php71w-soap # 安装MySQL yum remove -y mariadb-libs.x86_64 wget https://dev.mysql.com/get/mysql57-community-release-el7-11.noarch.rpm yum localinstall -y mysql57-community-release-el7-11.noarch.rpm sudo yum -y install mysql-community-server systemctl start mysqld systemctl enable mysqld # 查看初始密码 cat /var/log/mysqld.log|grep "password" # 密码请进入终端自行修改 #安装Nginx rpm -Uvh http://nginx.org/packages/centos/7/noarch/RPMS/nginx-release-centos-7-0.el7.ngx.noarch.rpm yum install nginx -y systemctl enable nginx systemctl start nginx yum install vim -y # 配置文件 vim /etc/nginx/conf.d/xxx.com.conf upstream fastcgi_backend { server 127.0.0.1:9000; } server { listen 80; server_name xxx.com; set $MAGE_ROOT /var/www/xxx.com/; set $MAGE_MODE default; include /var/www/xxx.com/nginx.conf.sample; } # 安装php-fpm yum -y install php71w-fpm systemctl start php-fpm systemctl enable php-fpm cd /var/www/ # 下载最新版Magento 2 wget https://github.com/magento/magento2/archive/2.2-develop.zip yum install unzip -y unzip 2.2-develop.zip mv magento2-2.2-develop/ xxx chown -R apache:apache xxx systemctl reload nginx # 开启80,443端口 firewall-cmd --add-port 80/tcp --permanent firewall-cmd --add-port 443/tcp --permanent # 或者 firewall-cmd --add-service http --permanent firewall-cmd --add-service https --permanent systemctl restart firewalld |
权限设置
|
1 2 3 4 5 6 7 |
# 进入Magento根目录 find var vendor pub/static pub/media app/etc -type f -exec chmod u+w {} \; && find var vendor pub/static pub/media app/etc -type d -exec chmod u+w {} \; && chmod u+x bin/magento # 其它 # crontab php bin/magento cron:install bin/magento indexer:reindex |
注意:Magento根目录的user和group就为apache(请查看/etc/php-fpm.d/www.conf),而非nginx
迁移准备
|
1 2 3 4 5 6 7 8 9 10 11 12 13 14 15 16 17 18 19 20 21 22 23 24 25 26 27 28 29 30 |
# 进入Magento根目录 yum install git -y composer config repositories.data-migration-tool git https://github.com/magento/data-migration-tool composer require magento/data-migration-tool:2.2 # 以下1.9.2.0请根据实际需迁移版本进行修改 cp vendor/magento/data-migration-tool/etc/opensource-to-opensource/1.9.2.0/config.xml.dist config.xml # 在config.xml文件中数据库请根据实际情况进行修改 <source> <database host="localhost" name="magento1" user="root" password=""/> </source> <destination> <database host="localhost" name="magento2" user="root" password=""/> </destination> <options> <crypt_key>Magento1-Encrypted-Key</crypt_key> </options> # crypt_key强制必须填写,在Magento 1的app/etc/local.xml中查看 # 因Alan数据表中还使用了前缀,因而也需要进行配置 <source_prefix>xxx_</source_prefix> <dest_prefix>xxx_</dest_prefix> # 配置完成后执行如下命令进行数据迁移 bin/magento migrate:settings --reset config.xml bin/magento migrate:data --reset config.xml # 如若报[Migration\Exception] Integrity Check failed,使用: bin/magento migrate:data -a config.xml # 操作过程中,根据具体报错可能需要在map.xml中增加类似: <ignore> <document>customer_group</document> </ignore> |
迁移如遇到困难,也可尝试导入产品和客户,方法如下:
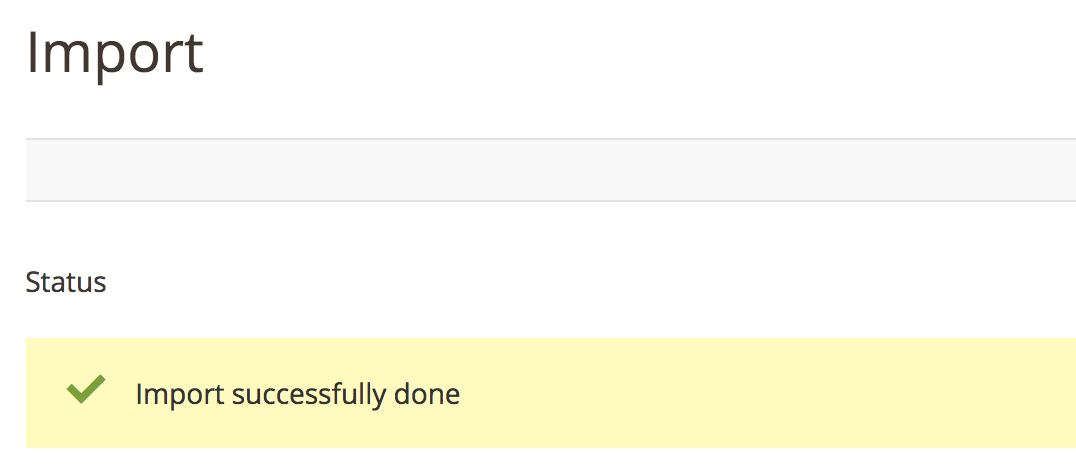
1、Magento 1.9.x后台System>Import/Export>Export,Entity Type下选择产品和客户进行导出
2、Magento 2后台System>Data Transfer>Import,在Entity Type下选择商品和客户对应选项,然后点击右侧Download Sample File
3、根据模板进行内容的填写,对于产品请将图片上传到Magento 2根目录下的目录如/pub/media/import/中,将对应目录填写到Images File Directory中
4、根据提示上传
Magento 2.x 后续版本升级
|
1 2 3 4 5 6 7 8 9 10 11 12 13 14 15 |
# 进入安装目录 cp composer.json composer.json.old composer require magento/product-community-edition 2.x.x --no-update composer update rm -rf var/di/* var/generation/* var/cache/* var/log/* var/page_cache/* var/session/* var/view_preprocessed/* pub/static/* php bin/magento setup:upgrade php bin/magento setup:di:compile php bin/magento setup:static-content:deploy php bin/magento cache:clean php bin/magento cache:flush php bin/magento indexer:reindex # 查看版本 php bin/magento --version |
常见问题
1.Vendor autoload is not found. Please run ‘composer install’ under application root directory.
|
1 2 3 4 |
cd /tmp curl -sS https://getcomposer.org/installer | php mv composer.phar /usr/local/bin/composer # 然后执行composer install查看 |
2.A non well formed numeric value encountered in vendor/magento/data-migration-tool/src/Migration/ResourceModel/AbstractResource.php on line 231
|
1 2 3 4 |
# 在该文件中进行如下修改 $memoryLimit = trim($memoryLimit); # 修改为 $memoryLimit = (int)trim($memoryLimit); |
3. Notice: Undefined offset: 1 in vendor/magento/data-migration-tool/src/Migration/Step/Eav/Data.php on line 278
先执行bin/magento migrate:data config.xml –reset再执行bin/magento migrate:data config.xml –auto
4. SQLSTATE[23000]: Integrity constraint violation: 1062 Duplicate entry ‘0’
for key ‘PRIMARY’
|
1 2 |
# 将配置文件中对应部分修改为 <bulk_size>250</bulk_size> |
5.{“0”:”Warning: SessionHandler::read(): open(\/var\/lib\/php\/session\/sess_7faf7505413d704ddd77e76bf8688a4d, O_RDWR) failed: Permission denied
这是因为默认php-fpm的session存放位置没有权限所致
chown -R apache:apache /var/lib/php/session/


